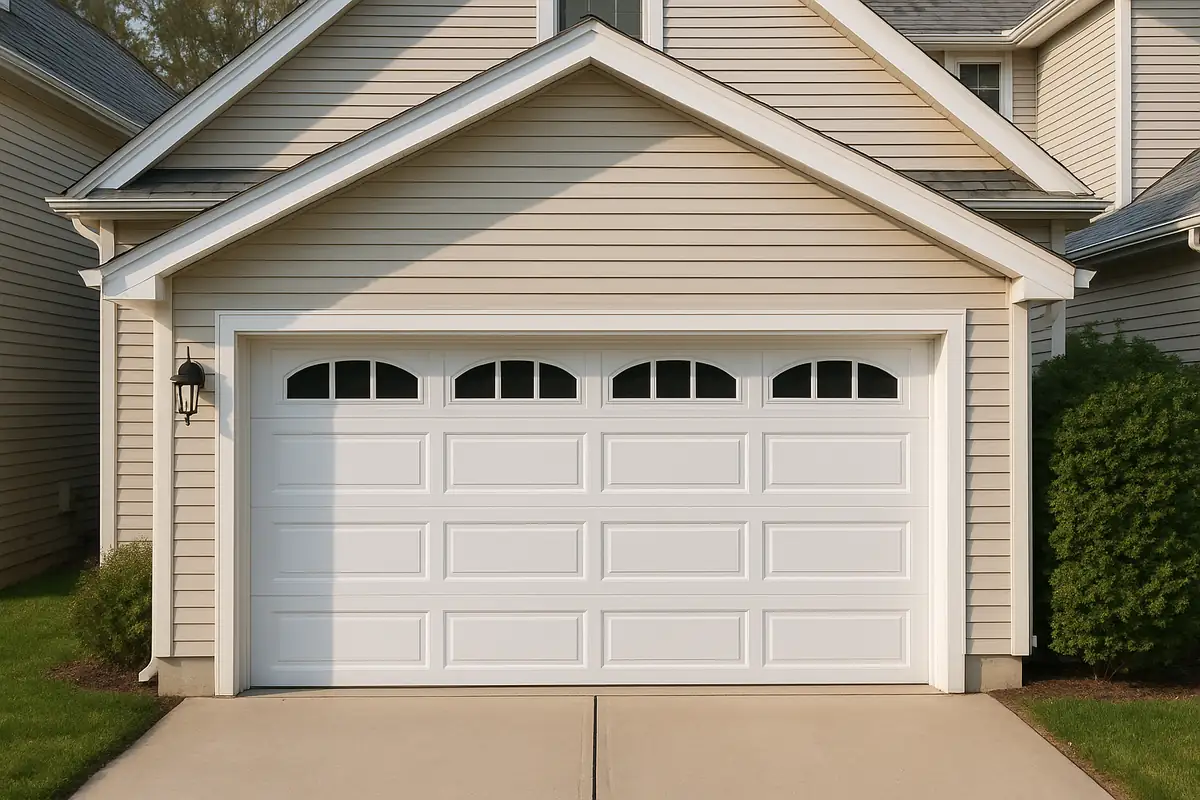
How to Program Your Garage Door Remote: A Guide by A & A Garage Door Repair in Stockton, CA

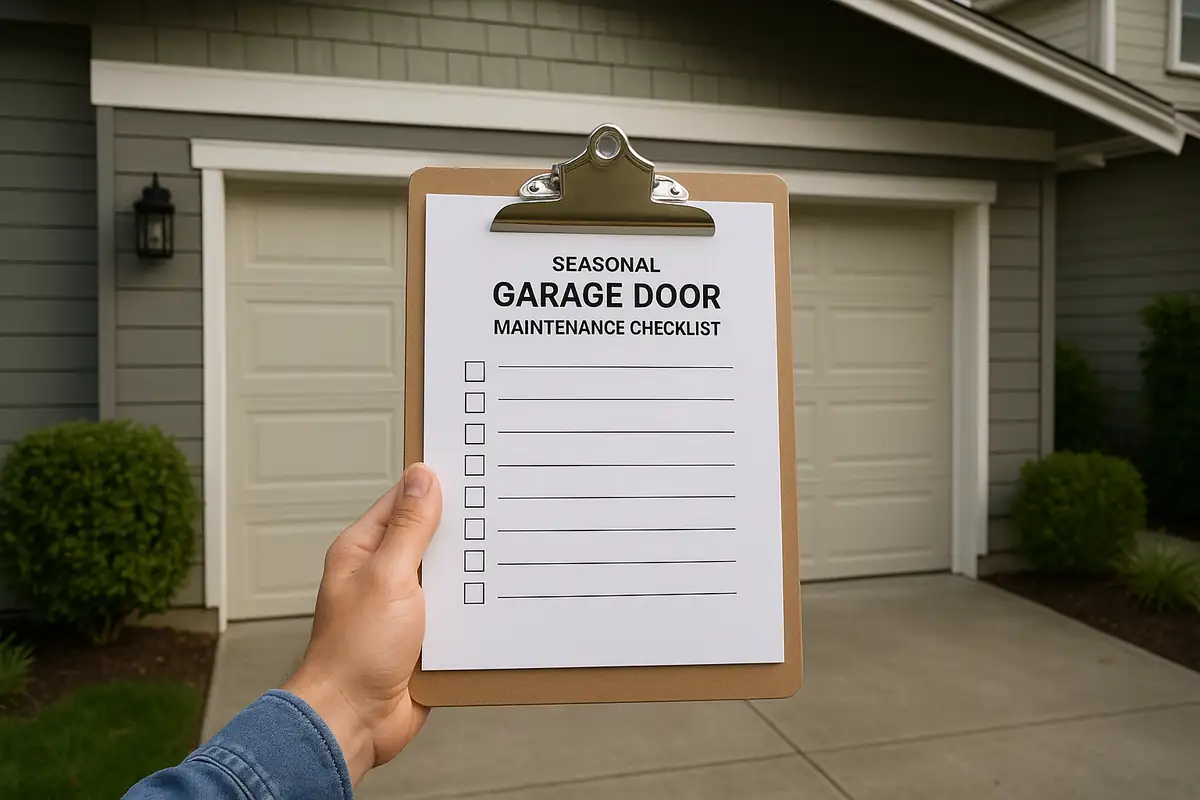
Understanding Your Garage Door Remote
Your garage door remote is a vital tool for your home’s convenience and security. If you live in Stockton, CA, knowing how to program your garage door remote is essential for ensuring easy access to your garage without hassle. Whether you’ve just purchased a new remote or need to reset an existing one, this guide will walk you through the process in simple steps.
Why You Might Need to Program Your Garage Door Remote
Programming your garage door remote might be necessary in several situations:
- Changing batteries in your remote
- Replacing a lost or stolen remote
- Upgrading to a new remote model
- Resetting the remote for enhanced security
In fact, statistics show that garage door related incidents are a common issue, emphasizing the need for proper knowledge and maintenance. According to industry reports, approximately 70% of homeowners use garage door openers, making it essential to understand their functionality.
Step-by-Step Guide to Programming Your Garage Door Remote
Let’s dive into the detailed steps for programming your garage door remote, ensuring you can quickly access your garage whenever you need!
1. Gather Your Tools
Before you start, make sure you have:
- Your garage door remote
- Your garage door opener's model number
- A ladder (if needed)
2. Locate the Learn Button on Your Opener
The first step involves finding the learn button on your garage door opener. This button is usually located on the back or side of the unit, often near the antenna.
3. Prepare Your Remote
If you’re using a new remote, ensure that it has fresh batteries installed. If you’re reprogramming an old remote, make sure the batteries are also good.
4. Program Your Remote
Now you’re ready to program. Follow these steps:
- Press and hold the learn button on your garage door opener until the indicator light turns on.
- Within 30 seconds, press and hold the button on your remote that you wish to program.
- Release the button when the garage door opener light blinks, indicating successful programming.
5. Test Your Remote
After programming, test your remote by pressing the button to see if your garage door opens and closes smoothly.
Troubleshooting Common Issues
If your garage door remote isn’t working after programming, consider these troubleshooting tips:
- Check if the batteries in the remote are correctly installed and charged.
- Ensure that you are within the operational range of the garage door opener.
- Verify that the learn button was pressed correctly.
- Inspect the garage door opener for any errors indicated by the lights.
Maintaining Your Garage Door Remote
To minimize future programming issues, here are a few maintenance tips:
- Regularly check and replace batteries in your remote.
- Keep the remote clean and free of moisture.
- Store your remote in a designated place to avoid losing it.
When to Call A & A Garage Door Repair
If you’ve followed these steps and still can’t program your garage door remote, or if you are facing any other garage door issues, A & A Garage Door Repair is here to help! Our team of experts is equipped to handle various garage door repair needs in Stockton, CA.
Conclusion
Programming your garage door remote can save you time and provide peace of mind with secure access to your garage. By following this guide, you should be able to program your remote with ease. If you encounter any issues or require professional assistance, contact A & A Garage Door Repair today!
Ready to schedule your garage door service? Call us at A & A Garage Door Repair in Stockton, CA, and let our experts assist you!
Explore More Resources
Related Articles
Service Areas
We proudly serve Stockton, El Pinal, Akers, Country Club, August and more areas.
Our Services
Professional garage door repair, spring repair, opener installation and more. View all services →
How to Program Your Garage Door Remote: A Comprehensive Guide by A & A Garage Door Repair
Emergency Garage Door Repairs: What to Do in Stockton, CA