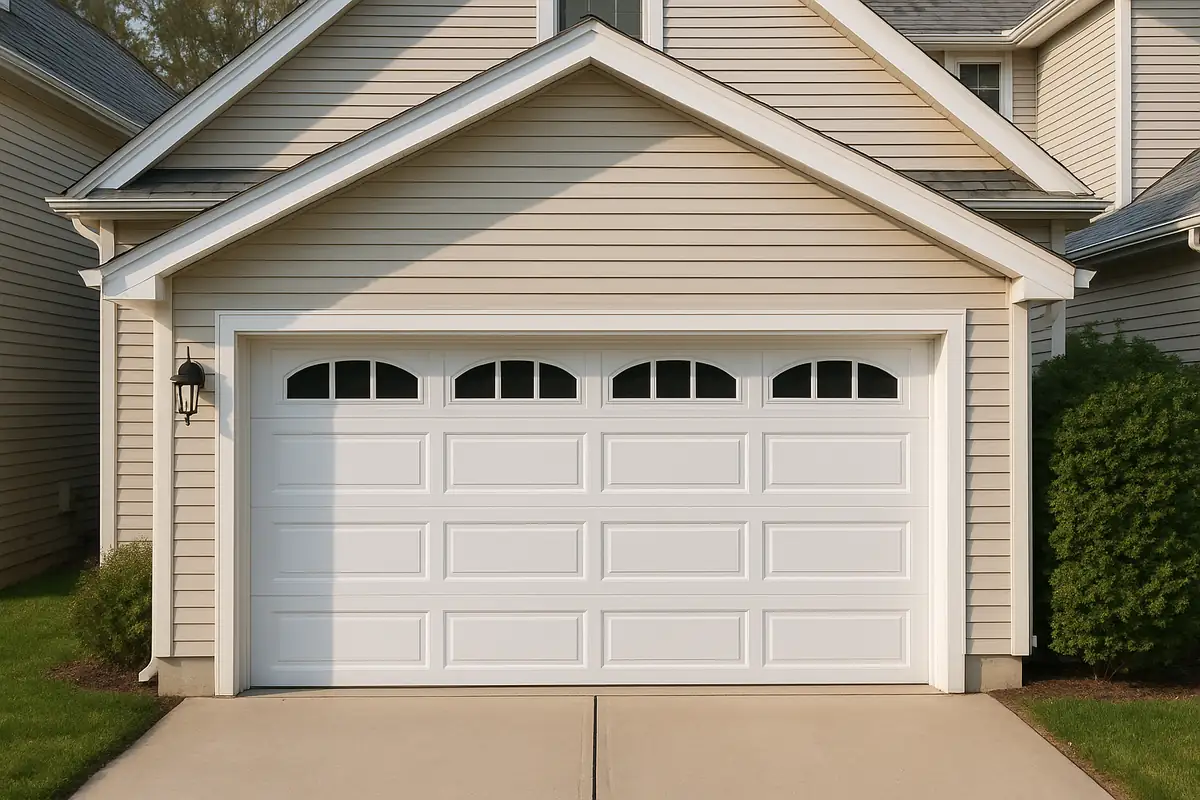
Garage Door Installation: What to Expect from A & A Garage Door Repair in Stockton, CA


Understanding Garage Door Installation
When it comes to garage door installation, many homeowners in Stockton, CA, often wonder what the process entails. Whether you’re upgrading for better security, aesthetics, or energy efficiency, knowing what to expect can make a big difference. At A & A Garage Door Repair, we guide you through each step of the installation process, ensuring a seamless experience.
Choosing the Right Garage Door
Before installation begins, it's important to choose the right type of garage door for your home. Here are some popular options:
- Steel Garage Doors: Durable and low maintenance.
- Wood Garage Doors: Offer a classic look but require more upkeep.
- Aluminum Garage Doors: Lightweight and resistant to rust.
- Fiberglass Garage Doors: Great for coastal areas due to their resistance to salt air.
Factors to Consider
When selecting your garage door, consider the following:
- Climate: Choose materials that withstand local weather conditions.
- Style: Ensure the door complements your home's architecture.
- Insulation: Look for insulated doors if you use your garage as a workspace.
The Installation Process
Once you’ve chosen your garage door, the installation process typically includes several key phases:
1. Preparation
The installation team will prepare the workspace, which involves:
- Clearing the area around the garage.
- Ensuring all tools and materials are on-site.
2. Removing the Old Door
If you're replacing an existing garage door, removal is the next step. This may include:
- Disconnecting the opener.
- Removing the old tracks.
- Careful handling of springs and cables.
3. Installing the New Door
Your new garage door will be installed according to manufacturer specifications. Key steps involve:
- Setting up the frame.
- Installing the tracks and rollers.
- Mounting the door panels.
4. Connecting Hardware
After the door is in place, the installation team will connect various hardware components such as:
- Safety sensors.
- Garage door opener.
- Weather stripping.
5. Testing the Door
Finally, your new garage door will be tested to ensure it operates smoothly and responds to remote commands. This is crucial for safety and functionality.
What to Expect During the Installation
Preparation is key! Here’s what you can expect on the installation day:
- Time Commitment: Depending on the complexity, installation can take anywhere from 3 to 8 hours.
- Noise: There will be some noise during the installation, so plan accordingly.
- Professional Guidance: A qualified technician will guide you throughout the process, ensuring your questions are answered.
Post-Installation Tips
Once your garage door is installed, it’s important to maintain it properly. Here are some tips:
- Regular Inspections: Check the door and tracks monthly for any signs of wear.
- Lubrication: Lubricate moving parts at least twice a year to keep them working smoothly.
- Weather Stripping: Inspect the weather stripping regularly to keep out moisture and pests.
Why Choose A & A Garage Door Repair?
As a trusted service provider in Stockton, CA, A & A Garage Door Repair is committed to delivering excellence. Here’s why we stand out:
- Experienced Technicians: Our team is trained and certified to handle various garage door types.
- Quality Products: We offer high-quality garage doors from reputable manufacturers.
- Customer Satisfaction: Your satisfaction is our priority, backed by a comprehensive warranty.
Conclusion
Installing a new garage door doesn’t have to be overwhelming. With the right information and a dependable team like A & A Garage Door Repair, you can look forward to an efficient installation process. Ready to upgrade your garage door? Contact us today!
Explore More Resources
Related Articles
Service Areas
We proudly serve Stockton, El Pinal, Akers, Country Club, August and more areas.
Our Services
Professional garage door repair, spring repair, opener installation and more. View all services →
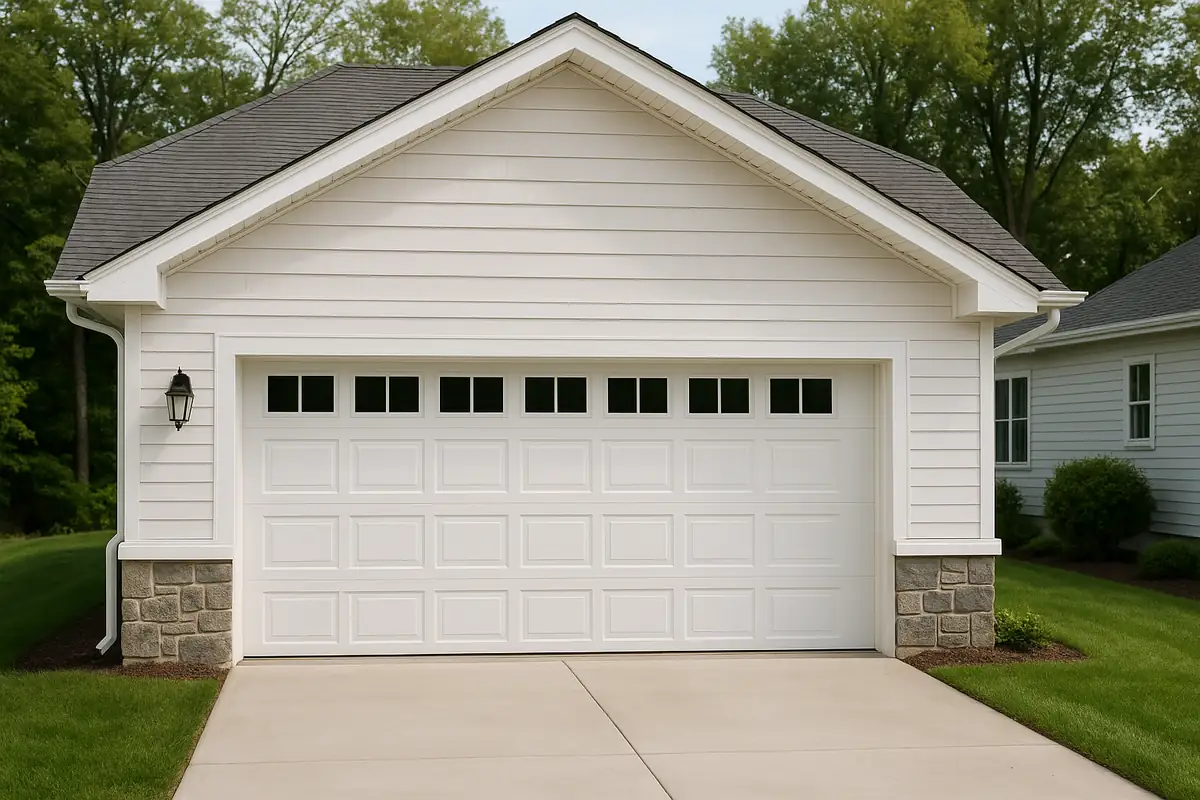
How to Program Your Garage Door Remote: A Comprehensive Guide by A & A Garage Door Repair
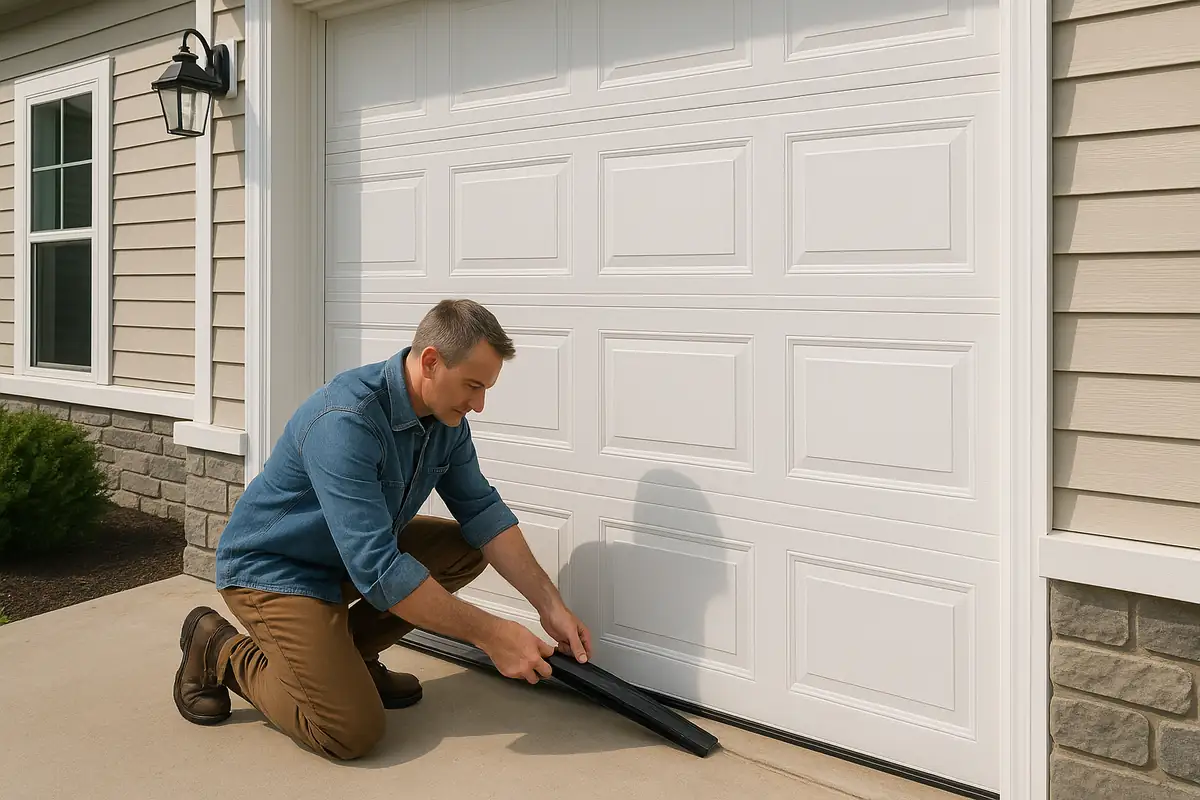
Emergency Garage Door Repairs: What to Do in Stockton, CA